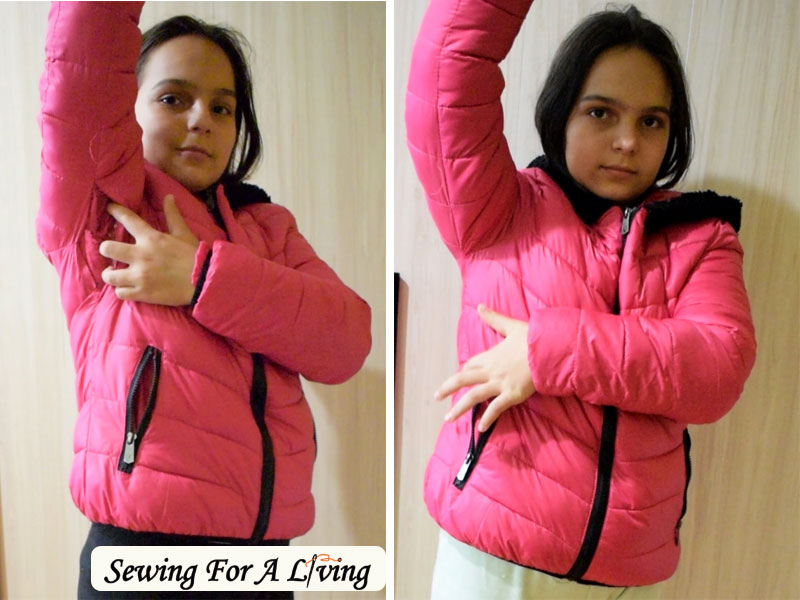
In this post, I am going to be showing how to fix a ripped jacket seam. The rip I’m going to work on is on the side seam and under the arms.
I get to do that a lot, it is one of the most requested repairs in our studio, especially during the winter season. I have a couple of jackets here for this same fix right now, so I thought it might be useful for you to see how I do it.
By the way, this is how I fix rips of every kind on lined jackets and coats that might be on the pockets, zippers, collars, or any other seam.
Opening the jacket to work from the inside out
To begin, I need to find a way to turn the jacket inside out. Usually, there is a topstitched opening on one of the sleeves (image 1).
This is how the jacked was manufactured so that all the seams stay on the inside. The last seams were made as the inside of the jacket was pulled through this hole in the sleeve and that’s how I am going to repair it as well.
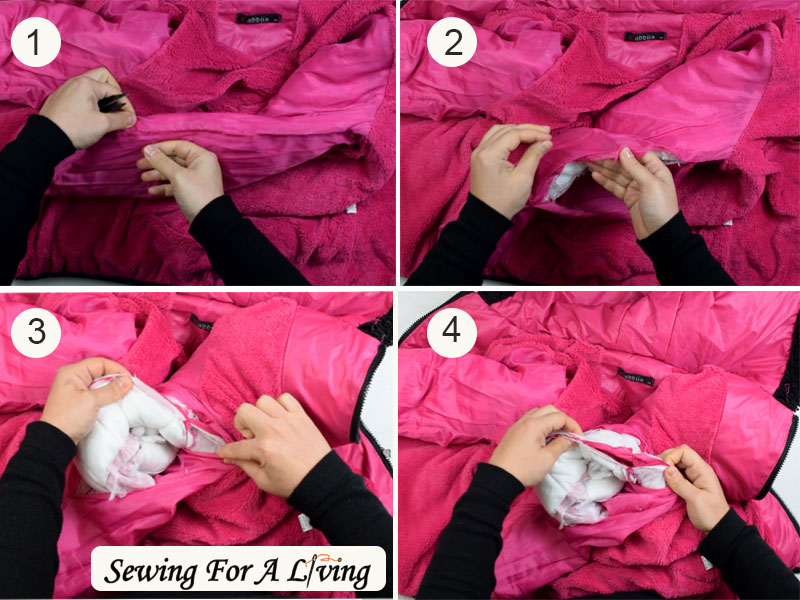
In my case though, the jacked was closed with a binding at the hemline. I’m not messing with it, I’m still going to work through the sleeve.
I am going to open the seam enough so I can work easily, but not too much (image 2). I don’t want to get to the hem or the underarm seam, because this is going to create more work for me later. And I most certainly don’t want that.
Then, I pull the face side of the jacket through the sleeve(image 3). I want the area I am going to be working on to be out. In this case, it would be the side seams, under the arms.
Fix the ripped jacket seam
I get both layers of fabric face sides together (image 4) and make the seam. I align the side seams nicely (image 5) and pin them together (image 6). Start sewing a bit over the old seam and backstitch at the beginning and the end because you don’t want these seams to pop up easily again (image 7).

I turn the jacket inside out to check if I’ve matched the seams, if it looks nice (image 8). I have a habit of always doing that before closing seams or topstitching somewhere. That’s because sometimes I think I did good, but there are surprises and that would save me from ripping seams later.
I am going to repeat the same with the other side. This time I am going to pull the other sleeve through the same hole and repeat (image 9).
Closing the sleeve opening
Next, I’m just going to close the hole I made in the sleeve with a narrow topstitching seam (image 11).

If you watch the video tutorial, I will also show you the same fix on a pair of ski pants. The steps you need to follow are the same. Find the topstitched hole, which this time is on the leg. Break the seam to open the hole. Flip the pants inside out. Pin and sew where the seam is ripped. Finally, topstitch the hole, and you are done.
Like what you read here? Support my site
If you would like to help me continue delivering similar content, please consider buying me a coffee to keep it going. It really helps me focus and have more time to prepare these tutorials and develop my lessons.
I can devote more time and do all the things involved in order to make this happen and share with you what I’ve learned about sewing and pattern making.
I would really appreciate it.
Watch the video on how to fix a torn jacket:
If you use any of my tutorials to fix or make something on your own, tag me on Instagram at @sewingforaliving, so I can see it and love it.
More sewing tutorials:
- How to replace the zipper on a jacket
- Shorten sleeves on a lined jacket or coat
- How to fix torn jeans pockets
- How to sew an invisible zipper on a dress
- Sewing with elastic thread – make a shirred dress
SIGN UP FOR SEWING FOR A LIVING NEWSLETTER
If you like what you read here, join our mailing list so we can send you our new sewing tutorials, pattern-making lessons, and patterns, as well as some occasional offers that we think, might interest you!
We will protect and use your data in accordance with our Privacy policy.
You may unsubscribe at any time by clicking the link in the emails we send.