When is this type of hem most appropriate?
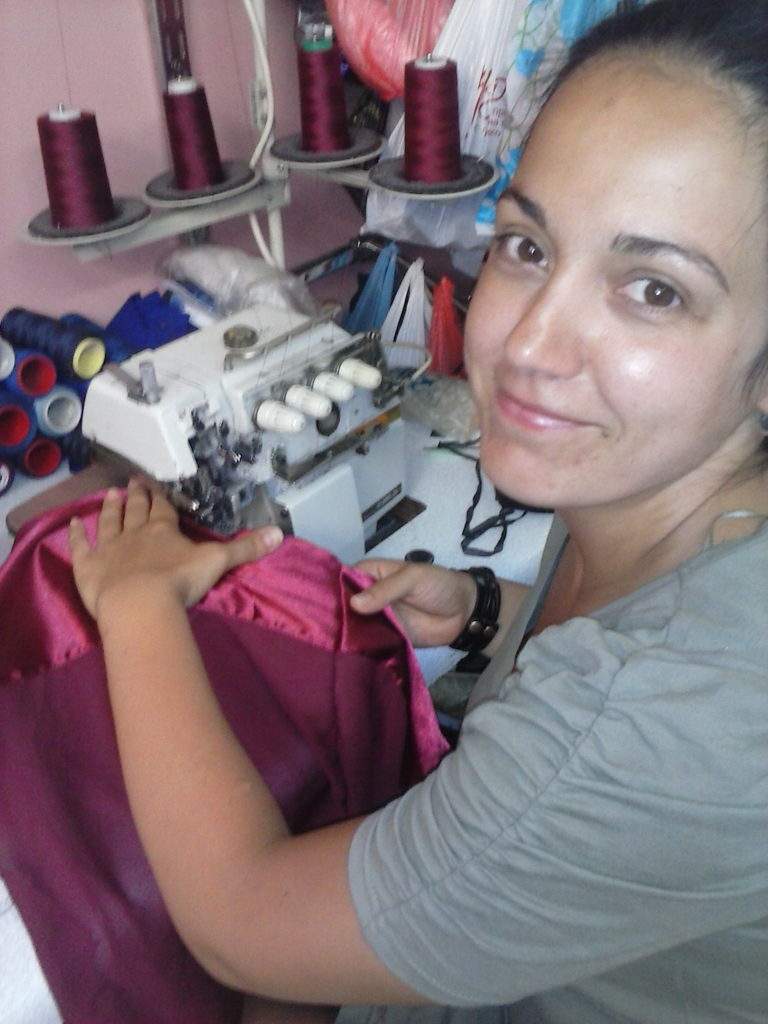
Sewing a hem with an serger (overlocker) is a common way to finish a garment, espeially if it asks for a wider hem. This is done by cleaning the edge of the garment with a serger and folding the hem allowance just once.
The actual hem seam is done with a regular sewing machine. This type of hem is suitable for skirts, dresses, and even pants. It is particularly useful when there isn’t enough hem allowance or if the fabric is too thick.
For this project you are going to need:
- An overlocker machine (serger)
- A regular sewing machine
- A ruler
- Chalk or a sliver of soap
- An iron
Here are the steps to follow:
This is how it looks on the inside (the first picture below) before we start to shorten. The steps you must follow for the preparation are exactly the same as if you were going to make a double folded hem.
1. First,
you must take measure exactly how much you want to shorten the garment. If it is a skirt or a dress, pin the fabric up at the desired length. If you shorten pants, you usually aim for the end of the heel (the second image).

2. Second,
put marks with chalk or a sliver of soap at the desired length where the garment will end, not where you are about to cut.
In this example, the shortening is just 3.5 cm/1.4 inches, so in order to make the second line for the allowance I had to break the original stitching. This is very common, especially with pants, because they have to be shortened just a bit. I usually go for the original look if there is not a reason to make it differently.

3. Then,
put another mark under the first one. Choose the width of the hem (the allowance you want to leave). In this case, it is 2 cm/0.8 inches. You might prefer to connect the marks into a non-punctuated line. It is easier to follow and it is a better option for beginners. I prefer to make punctuated marks because it saves me some time. It is up to you, it doesn’t affect the end result.
4. Next,
Cut on the lower mark, where the end of the hem allowance is. I cut directly with the serger, but I have a lot of practice. If you don’t feel confident about this, cut with scissors first and then just trim and overlock it with the serger. Again, it doesn’t affect the end result, it just saves time.
After the cleaning of the edges with the serger is done, we proceed to make the hem. It can be done on a regular stitching machine or by hand. In this case, we chose to use the sewing machine.

Originally, the hemming seam was made at some distance from the overlocked edge. I prefer to make it exactly on the overlocked seam because I follow the threads of the serger needle and I use it as a guide to keep the straight line.
5. Next step,
fold the fabric exactly on the first mark (that indicates the length of the garment) and sew on the overlocked seam.
6. And last,
iron on the wrong side to avoid shining on delicate or synthetic fabrics.
The last two pictures show the result on the wrong and the right side.

Like what you read here? Support my site

Hi sewing friends, Daniela here! As a passionate sewist and pattern maker, I love to empower fellow creators to sew their dream wardrobes. Join me on a fun journey where we unlock our creativity, stitch by stitch.
If this tutorial has helped you, please consider supporting the blog with a small donation. This way I can keep it up and continue sharing for free.
It is always greatly appreciated!
I hope you enjoyed this pattern-making lesson. Happy sewing!
More on hems:

can I use 3 reels of normal sewing cotton on my overlocker for a normal hem?
I love the convenience of having an overlocker for hemming purposes, as well as ‘sealing’ any other edges on sewing projects. Luckily, my mom has an overlocker that I can borrow whenever required!
I was wondering if there’s any alternative way to preserve edges from fraying though, if you didn’t have access to an overlocker? Could you do a regular zig-zag stitch using the normal sewing machine, and then fold and hem it?
Hey Jolie,
The overlocker makes a sewer’s life easier and the seams are very durable. It is also fast and precise, so I prefer it.
Anyway, you can use the regular sewing machine for practically any purpose. The zig zag stitch can replace the overlocker just fine for most sewing projects, including this one. If you sew only for yourself and your family the overlocker may be an unnecessary investment. Otherwise, using a serger will give your projects that manufactured look and quality any professional sewer is looking for (and his or her clients :)).
Thank you for stopping by,
Daniela